Persistent Remote Notebooks for VSCode
For a lot of the data-analyses we do, we work in Python notebooks. They allow us to nicely present code and data. Sometimes, however, we need the performance of a large workstation, and as such we might want to run notebooks remotely.
A classic technique to do this is to open an SSH connection with a port forwarded to your local machine, start a Jupyter notebook server on that port and open in your local machine via the browsers. This is decent, but it won’t allow you the benefits of a IDE like VSCode.
This manual is for those who prefer to work with VSCode, but would also like to have notebooks persist across sessions. Remote connections in VSCode allow you to remotely run notebooks, but their kernels will be terminated as soon as VSCode on your local machine shuts down. Using the steps below, you will create a persistent (named!) tmux session, to which VSCode automatically connects. In this tmux session, a notebook server is running, to which one can connect the notebooks opened with VSCode.
Warning: This leaves notebooks open on a remote machine, possiblty eating away lots of RAM.
Assumptions
- You have an SSH connection to your remote machine.
- You have your Python stack ready on the remote machine.
Instructions
- Create a remote connection in VSCode:
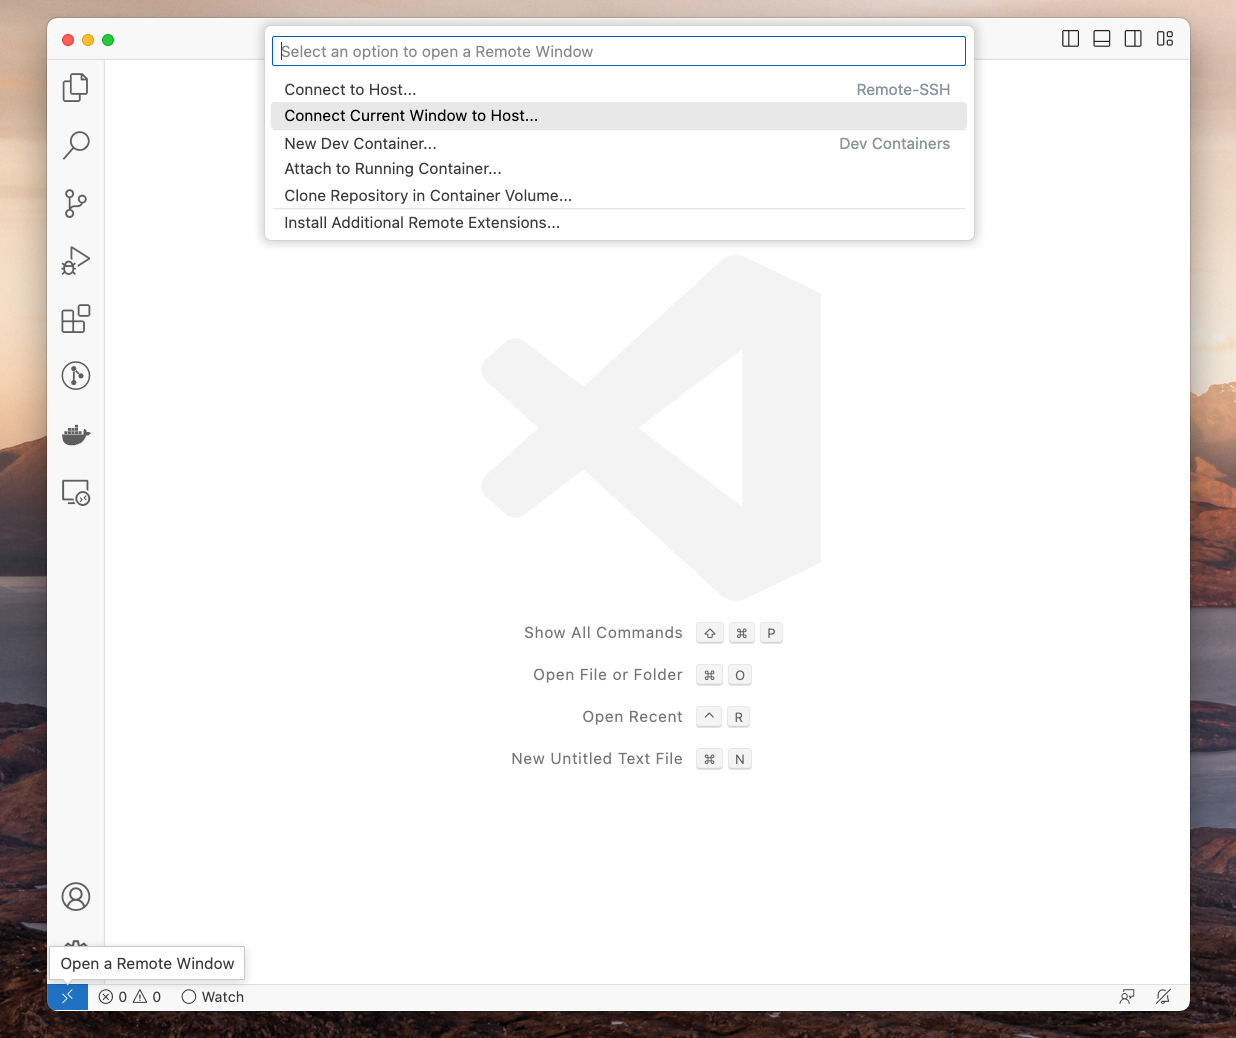
- Click the blue arrows all the way in the bottom right.
- Then select “Connect Current Window to Host…“.
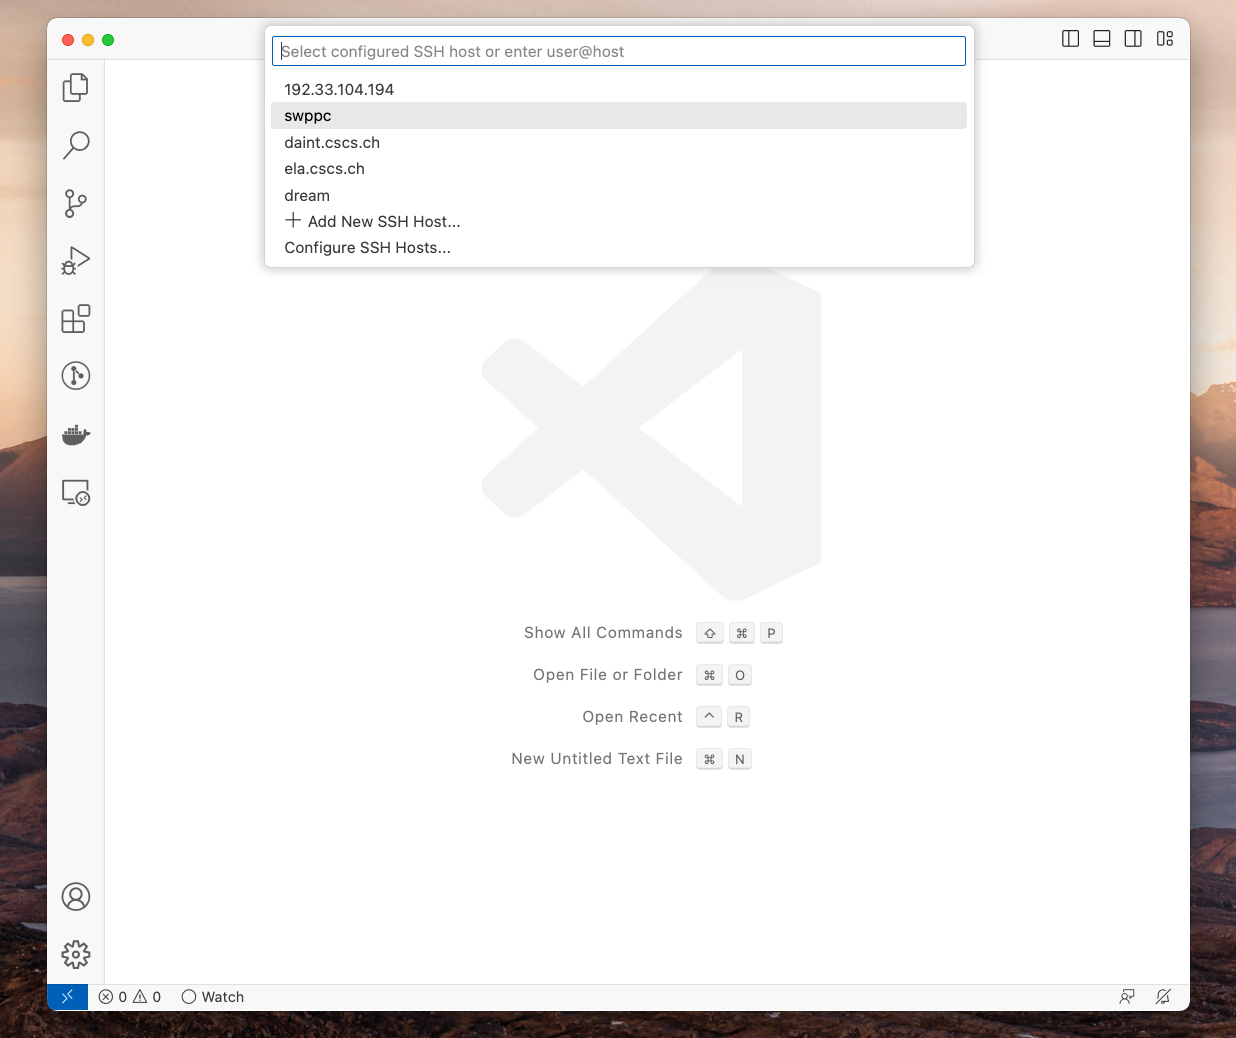
- Then select the appropriate connection.
-
Give it a few seconds goshdarnit, it’s only a machine. It needs to install VSCode remotely.
-
Install the Python Extension in your remote. This is done by opening the little stack of blocks on the left bar, typing in “Python” and selecting the top extension (made by Microsoft), and installing it to the remote machine.
-
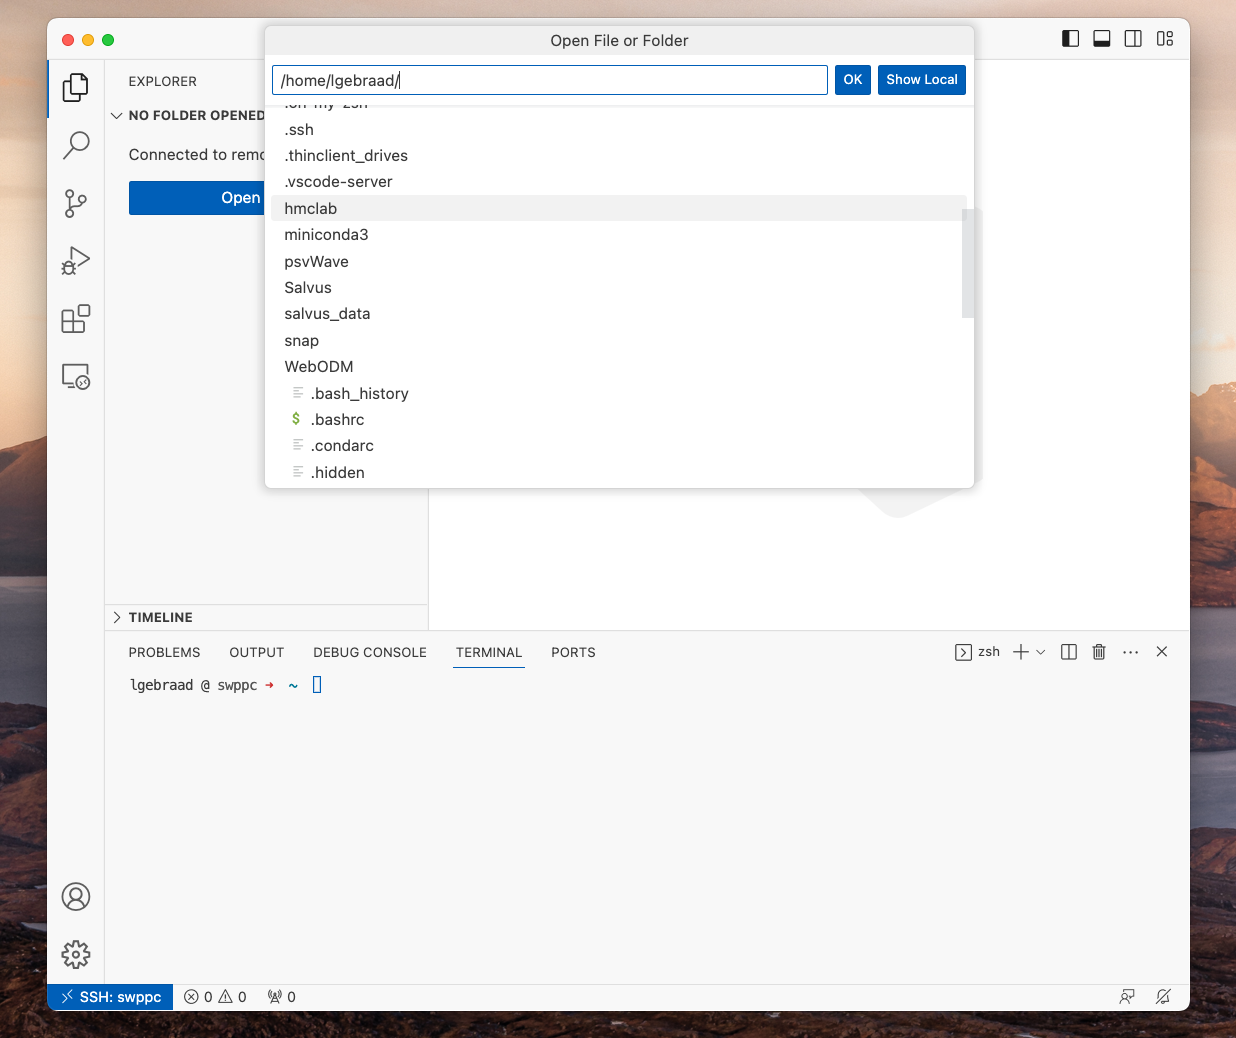
Open the folder which you’d like to use.
- Now, we create a persistent tmux terminal, which will serve as the place where the notebooks will run. We want to open up (and this is important), the json settings file for the Remote:
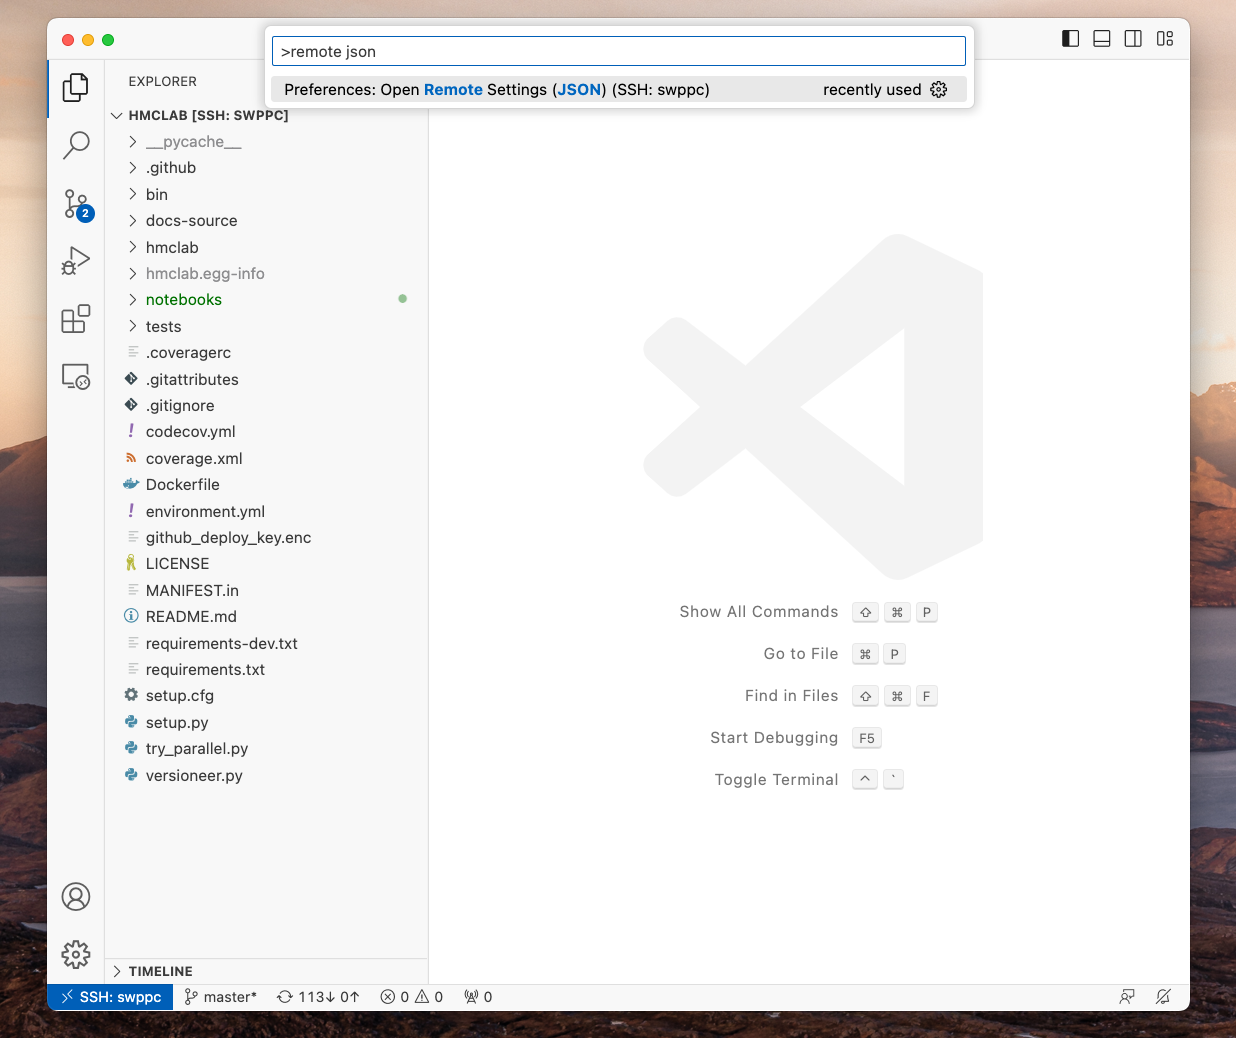
- Open the Command Palette (MacOS: Command+Shift+P, mouse: View > Command Palette).
- Type Remote JSON and click “Preferences: Open Remote Settings (JSON) (SSH:
).
- Add the following lines and save the file. You might want to change the fourth off the arguments passed to tmux, as this will be the process name of the tmux session!
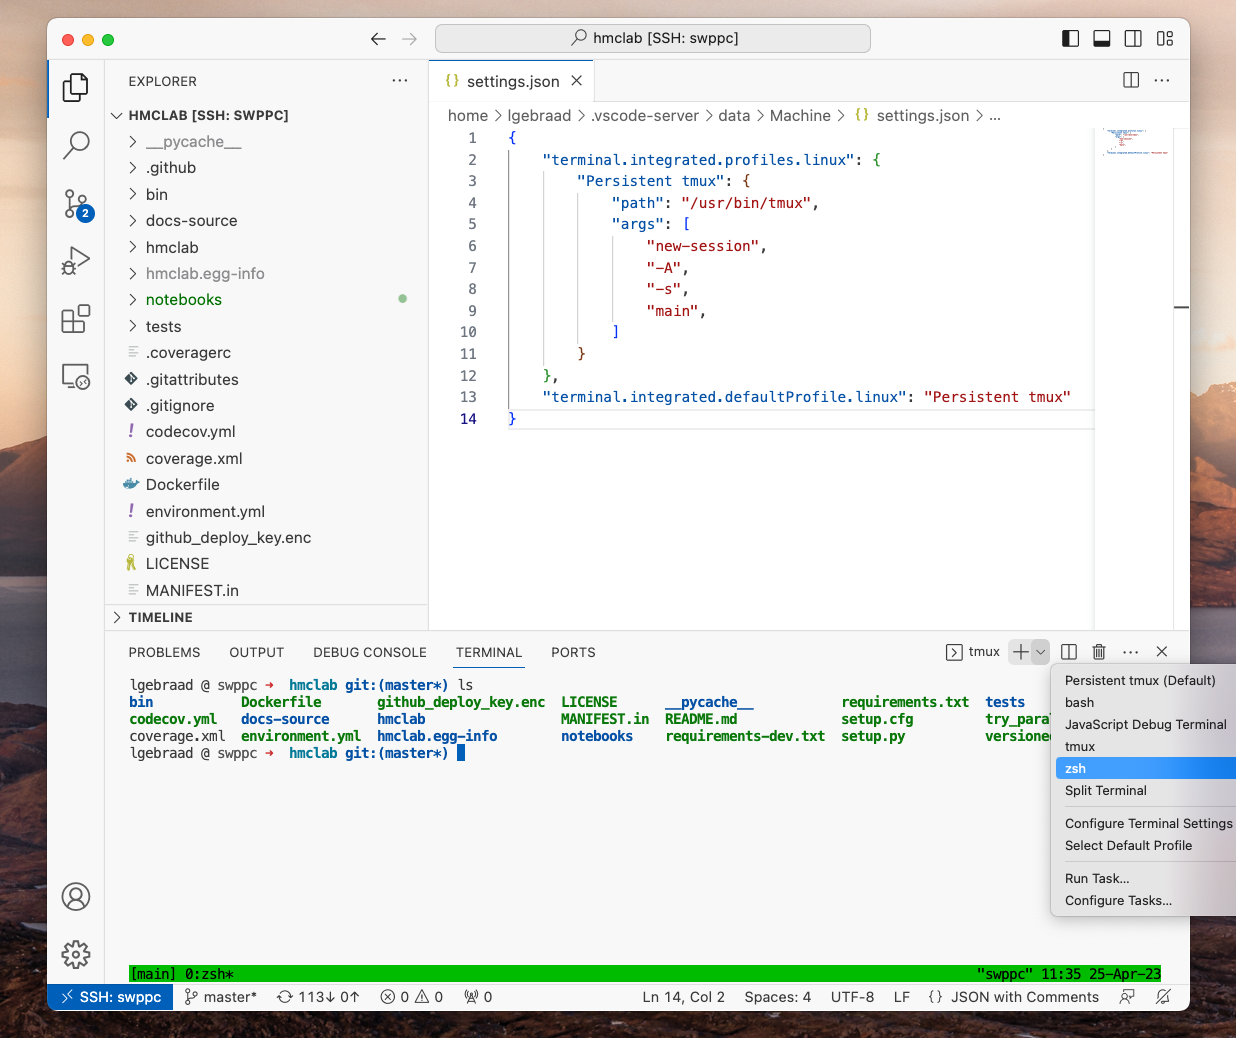
{
  "terminal.integrated.profiles.linux": {
      "Persistent tmux": {
          "path": "/usr/bin/tmux",
          "args": [
              "new-session",
              "-A",
              "-s",
              "persistent-vscode-lars",
          ]
      }
  },
  "terminal.integrated.defaultProfile.linux": "Persistent tmux"
}
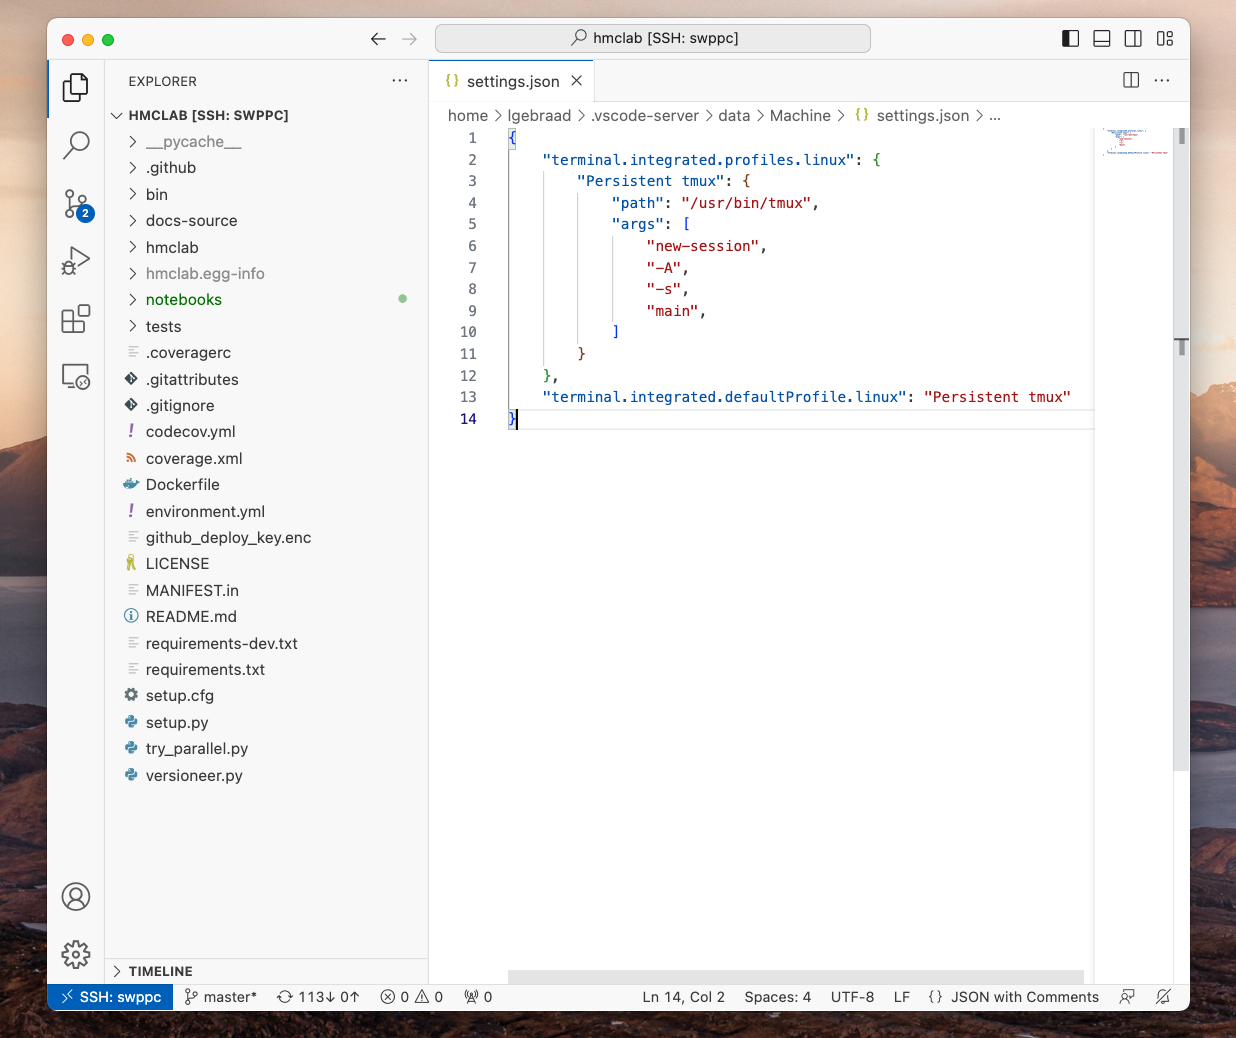
This will now start (or reconnect to) a tmux with the name persistent-vscode-lars (or whatever you named it) whenever this VSCode folder is opened. Note that it will never shut this tmux session down by itself.
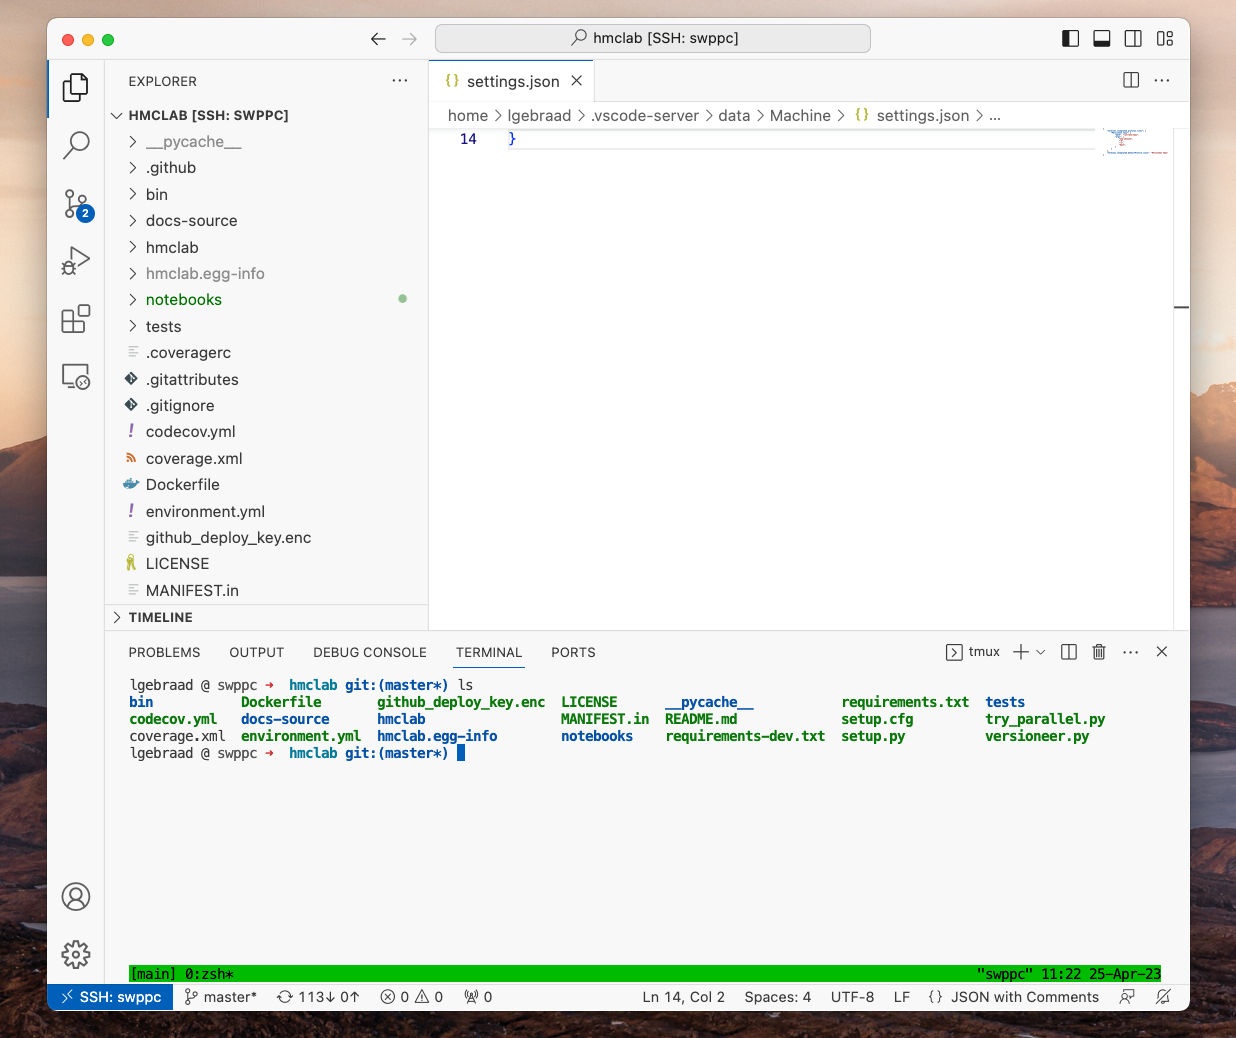
- Start a terminal inside VSCode (MacOS: Control + backtick, `). This should open a tmux session, as seen in the screenshot.
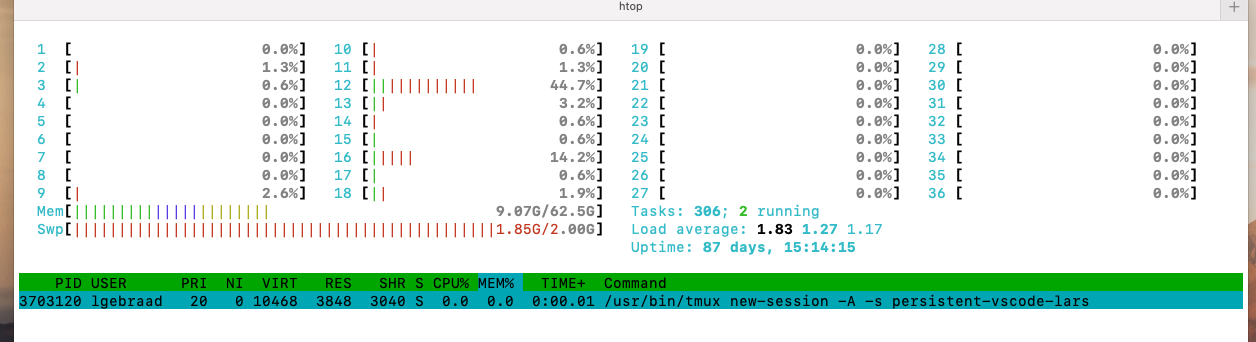
Now when investigating with htop (e.g. using filter persistent), one will find the process:
-
To test this out, just close VSCode! When I bring it back up on my machine on this remote folder, it actually reopens the terminal with its previous state (as it is reconnecting to the tmux session).
-
When necessary, one can always open a normal terminal by using the dropdown next to the plus sign on the terminal pane:
- Start a notebook server in the tmux terminal, and make a note of the address. For me, this needs the following:
- Activate my conda environment
conda activate whatever. - Start
jupyter notebook. - Copy the address (and possible the token) in the output, for me, this was
http://localhost:8890/?token=<...>.
- Activate my conda environment

At this point, it is recommended to collapse (but not terminate!) your terminal pane. Do this by doing a double “Command + backtick (`)”, “Command + J” on MacOS, or simply right clicking the top bar of ther terminal and hiding it.
-
Create a new notebook to test our configuration (File > New File … > Jupyter Notebook).
-
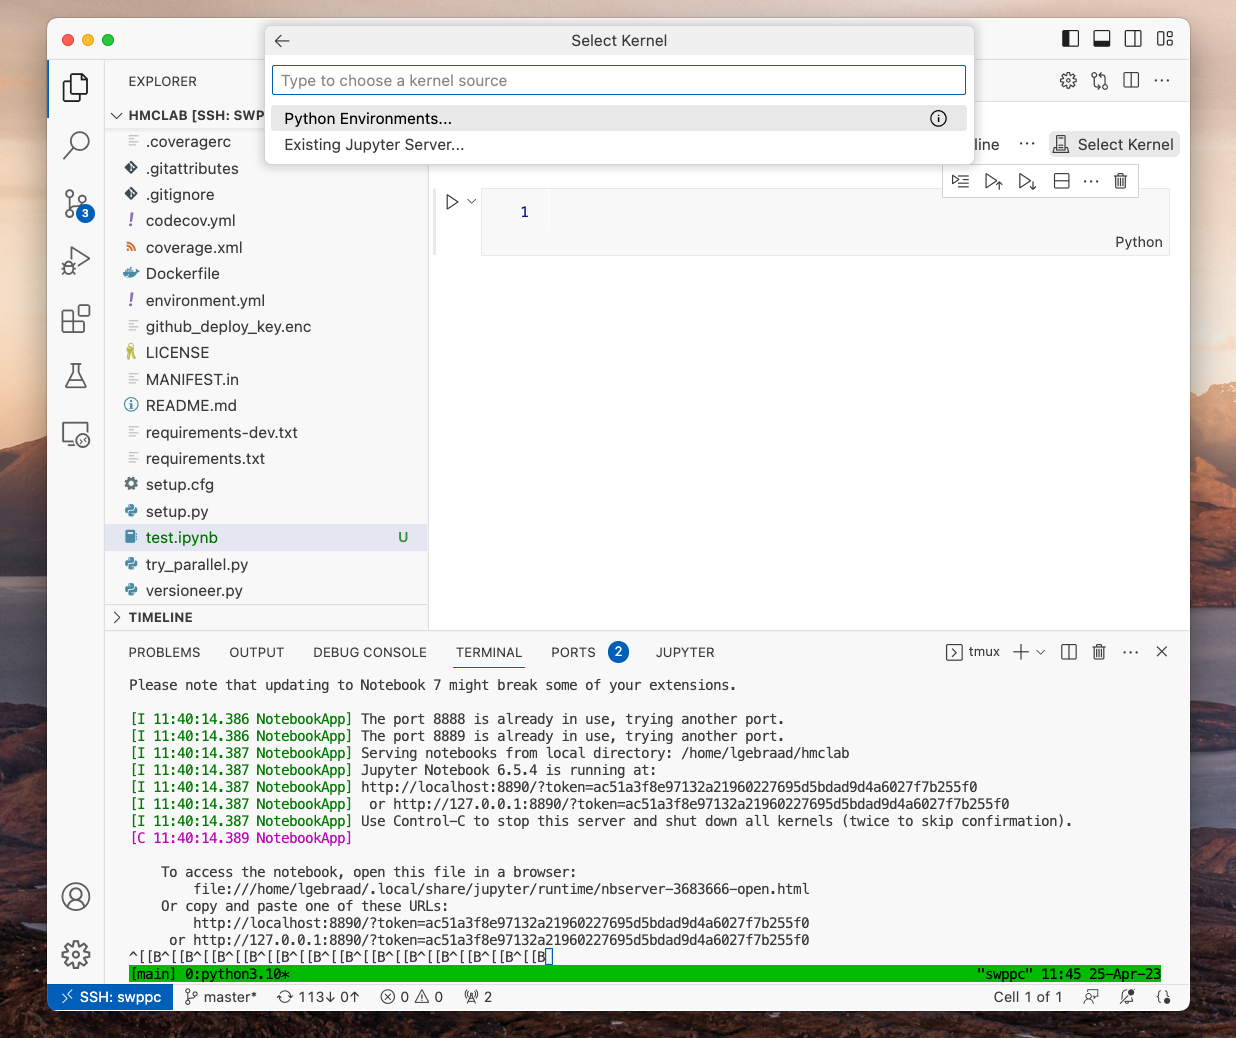
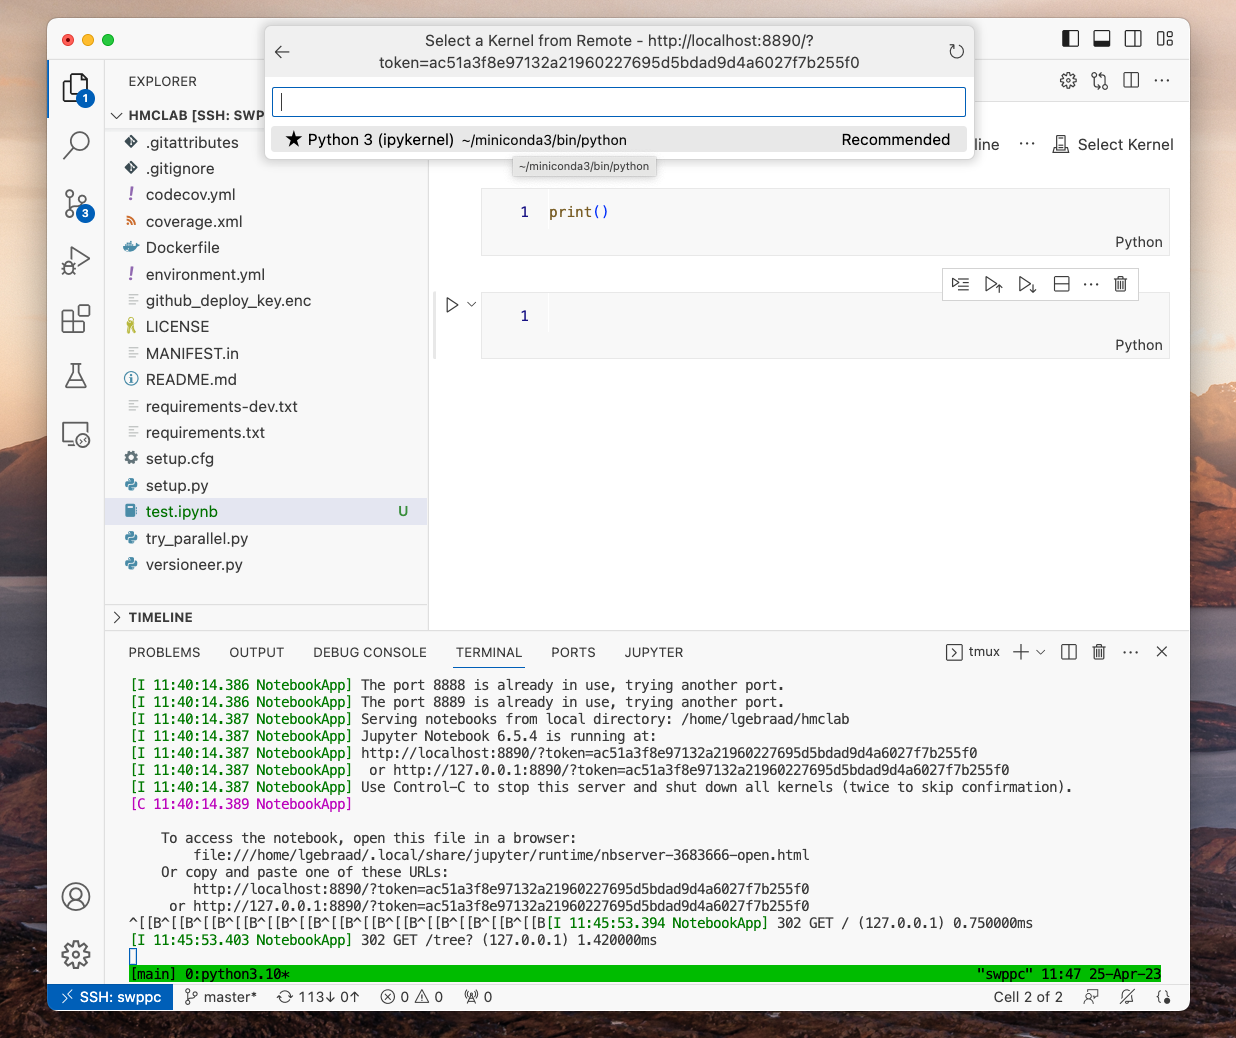
Before you do anything in this notebook, hit the top right “Select Kernel”, followed by “Existing Jupyter Server…” in the pop-up. You might have to click “Select Another Kernel…” before seeing the Jupyter option.
- Select enter the URL of the running Jupyter server.
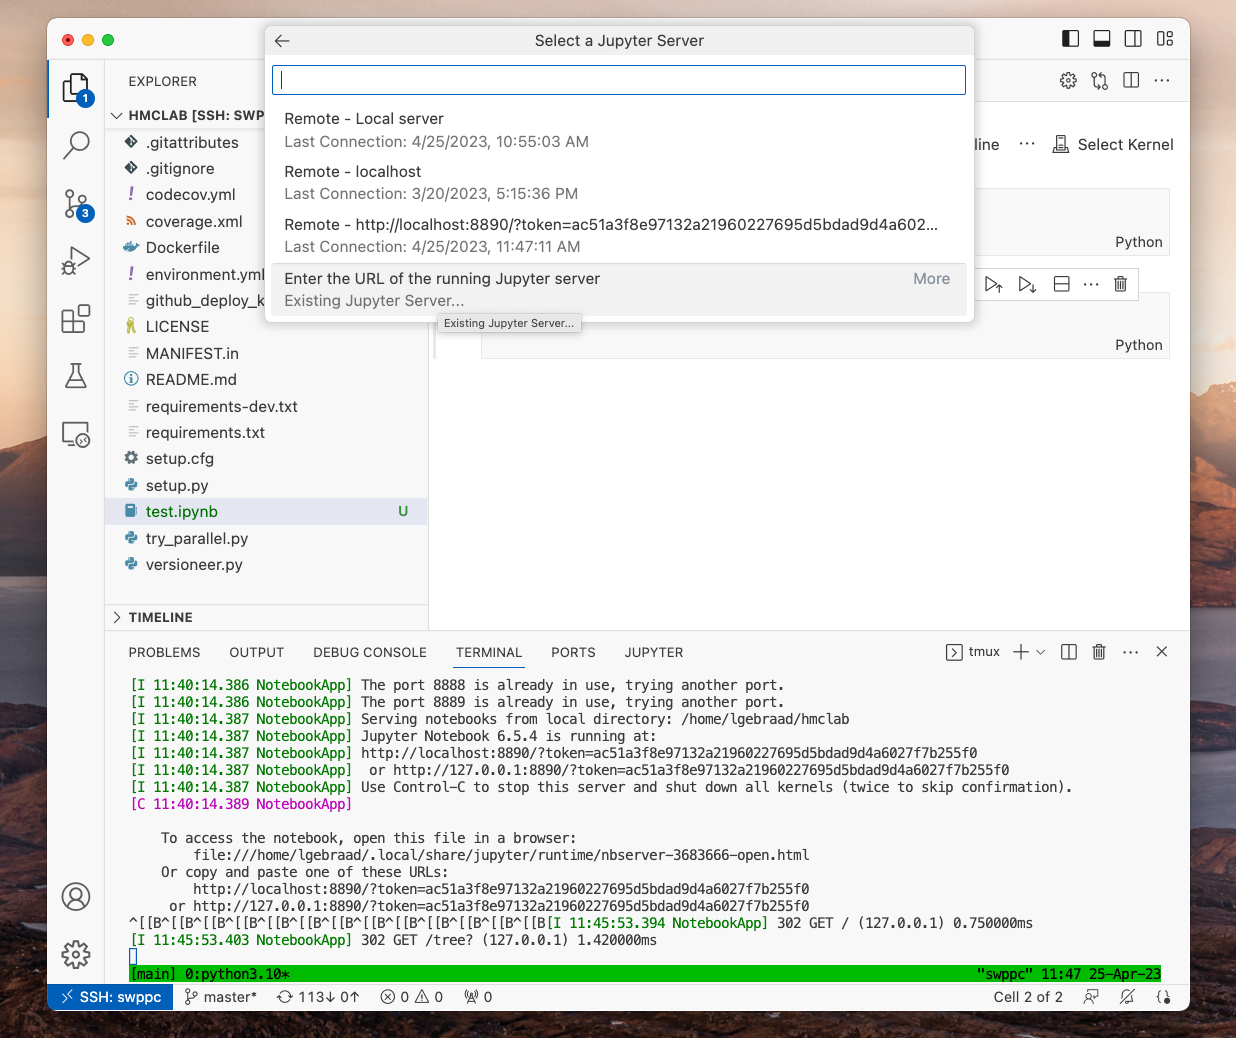
- Paste the address that you copied from the terminal.
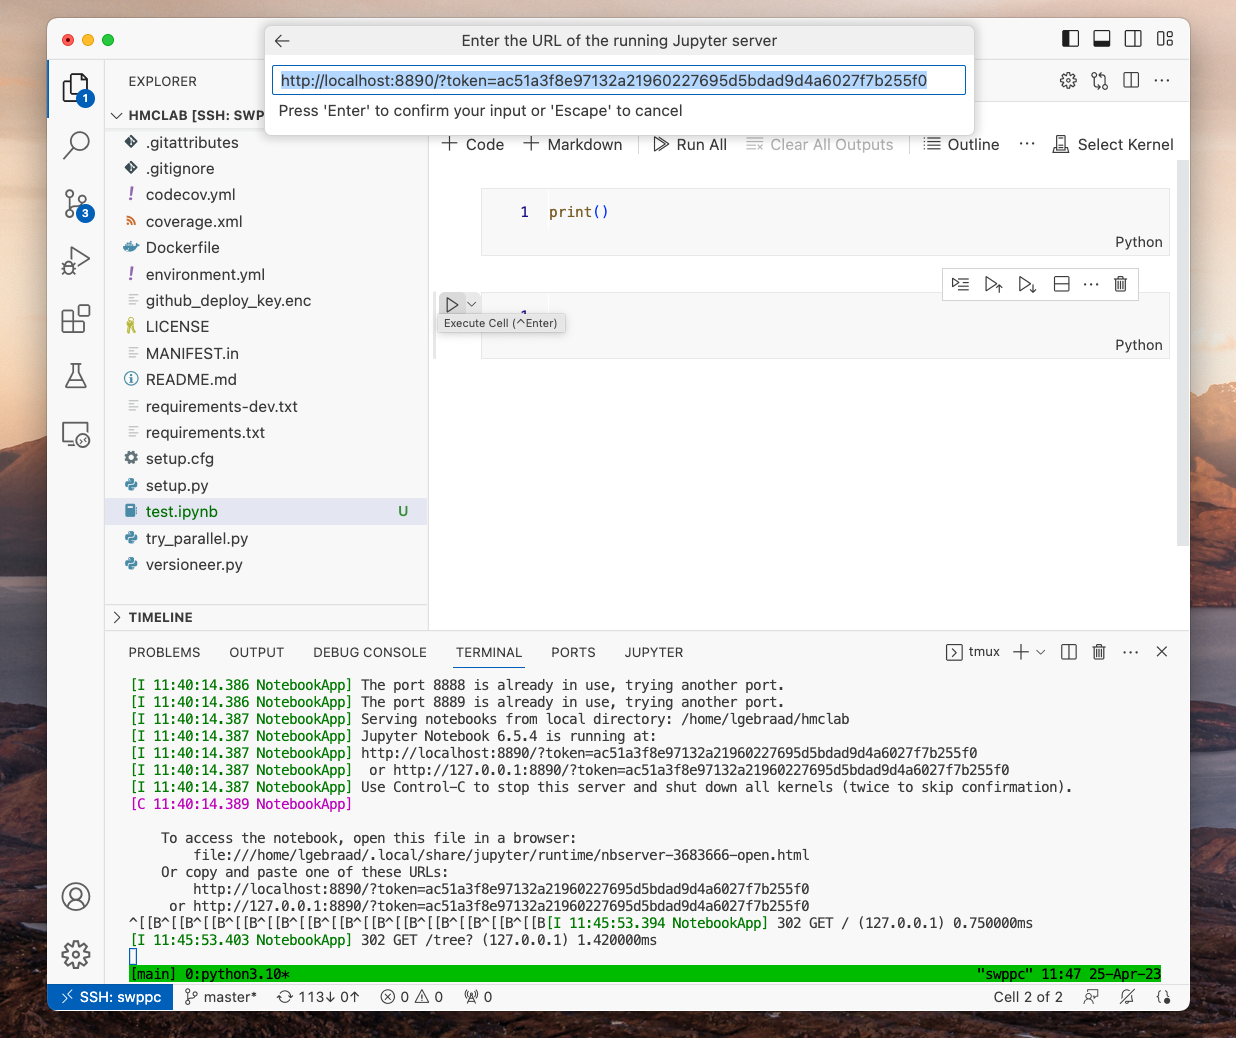
- Now, a selection of conda environments pop-up. Since I only have one (the base environment) I select this. But feel free to select your preferred environment/kernel.
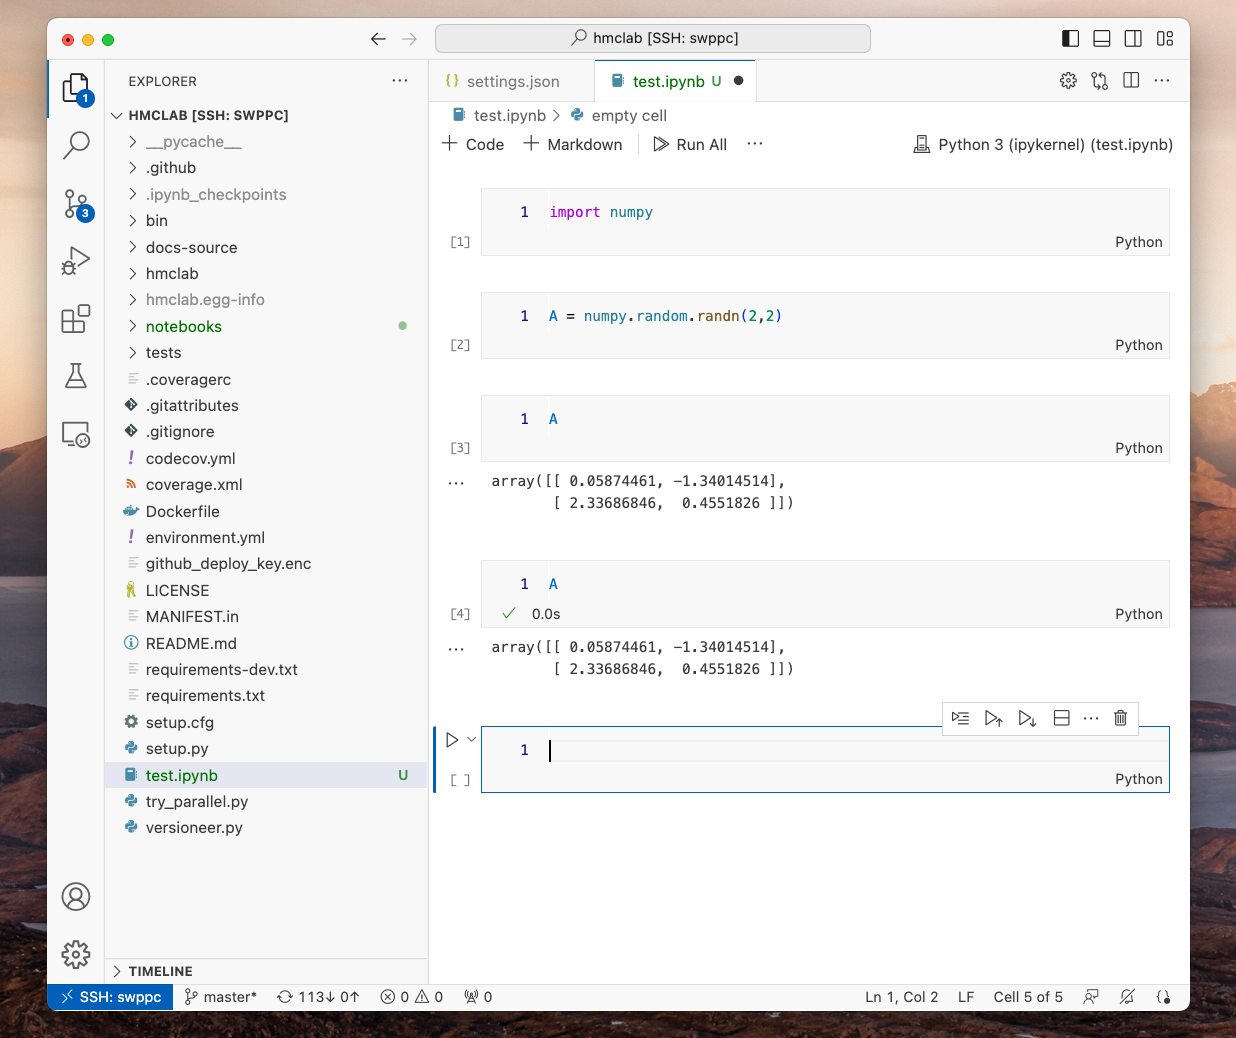
- Write some notebook you wish to be persistent. I preferred to generate some random numbers, store them in a variable, and check if the are persistent between VSCode sessions.
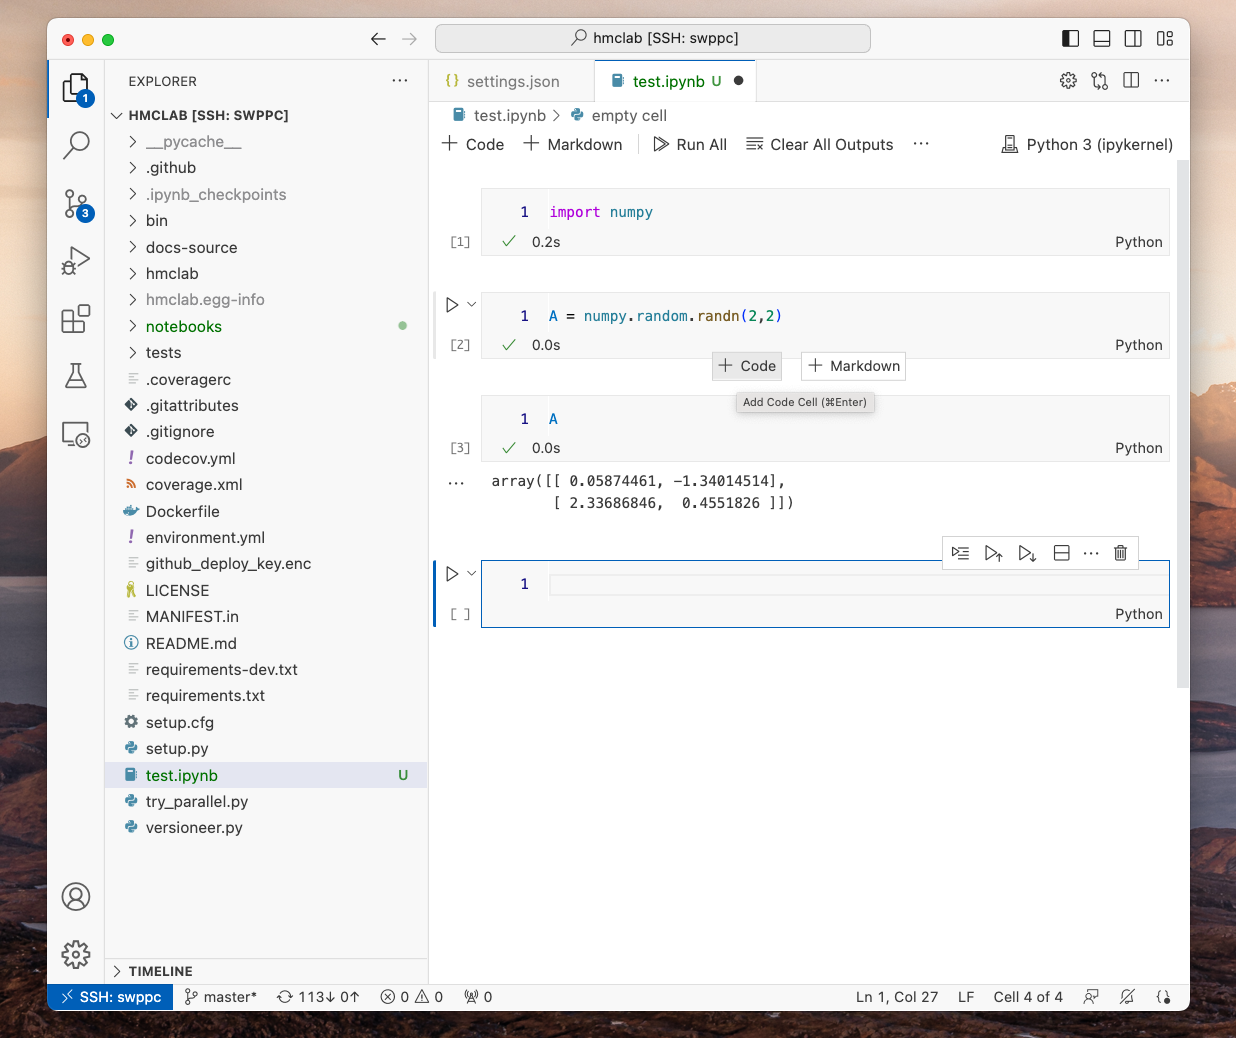
- Shut VSCode down for however long! When you come back to it, your notebooks should be intact, with variables!